Interfacing with a Vending Machine
Before Christmas Build Brighton procured a vending machine. This is something we had been talking about for a while but vending machines are typically large and heavy as they have refrigeration units onboard for keeping food cool so the practicalities of getting a machine into the space and finding somewhere to keep it meant this project never really went anywhere. But what changed I hear you all saying, the typically large and heavy part! There are some vending machines that don't have refrigeration units and Seb found a great one. It is a slimline machine which vends sideways and was designed to run longterm from a battery, it still cost quite a bit but at least it was useful in its current form incase we couldn't do anything with it.
When the machine turned up we powered it up with one of Kevin's batteries and were pleased to find that the default amount for a lot of rows was 50p, the amount we were already selling the chocolate for so we loaded it up and set it to work.
When we came back from Christmas we decided that it was time to start improving the vending machine so Seb and I set out to upgrade it. Rather than strip out the electronics and start from scratch we took a conservative approach and started by reverse engineering each of the key parts, dispensing coils, coin reader and keypad.
The Dispenser
The dispensing coils were the trickiest part, this unit was at the bottom on the machine and connected via a cable to the main board, it was also where the main power came in. Of the 8 wires running up 3 were identified as power, 12v, 5v and ground leaving 5 data lines. The IC's on the lower control board were shift registers so we knew it was going to be a serial data line of some kind.
Thankfully Logic came to the rescue and after an evening of testing we identified the data lines and had some Arduino code written to dispense items.
It turned out to be a standard setup with a clock, data, enable and latch pin. The final purple wire didn't seem to be used for anything so remains labeled as DISPENSER_PURPLE in the code.
The data lines are active low so at one point during testing we disconnected the main cable allowing it to receive a lot of noise and low data signals so we got to watch as it slowly vended every food item in the machine into a big pile on the floor!

When an item is dispensed it latches out 40 data bits, our machine only has 11 rows but the board supports a lot more. The motors have some logic of their own outside of the motor control board to ensure a complete revolution without worrying about timing. To get an item to dispense you command the motor to turn for about a second and then shut it off, the idea is to rotate enough to hit one of the micro switches once this happens it carries on turning until it is complete.
It took us a while to realise this is what it was doing so we ended up spending quite some time looking at the machine with puzzled expressions as sometimes it would rotate a row perfectly and other times it would only rotate a few degrees.

Coin Reader
I have played with a cheap coin reader before so I had an idea in my head of how this would work.
The one I had looked at outputted a series of pulses, the number of these pulses would relate to the value of the coin entered, if you configure it correctly you can count the number of pulses and then multiply by a fixed number and you have the amount of money entered. This can work really well as a user can insert multiple coins and you don't need to identify the gaps between them, just keep counting the pulses.
The reader in the vending machine was a bit different and had 8 data lines, each of the 6 types of coin it accepted controlled a data line and each would emit a series of pulses when the corresponding coin was entered. The other two pins were an output which toggled when the user pressed the reject button and an input which would stop the reader from accepting money.
Interfacing was straightforward, all that was needed was to debounce the outputs so that a single pulse was received, we also ended up disabling the coin reader as soon as the first pulse was detected, this was to deal with someone entering coins to quickly.
One quirk was when power was removed from the machine, our system would register that a 10p had been deposited, to solve this we only acknowledge an input if it is of a certain length.
UPDATE An annoying issue we discovered after a couple of weeks of testing was its inability to accept the new 5p and 10p coins. This is causing a few problems so plans are underway to replace the coin mechanism with a much better system.
Keypad
The keypad was straightforward and followed standard conventions, it had a 2 column 10 row configuration and was very quick to setup.
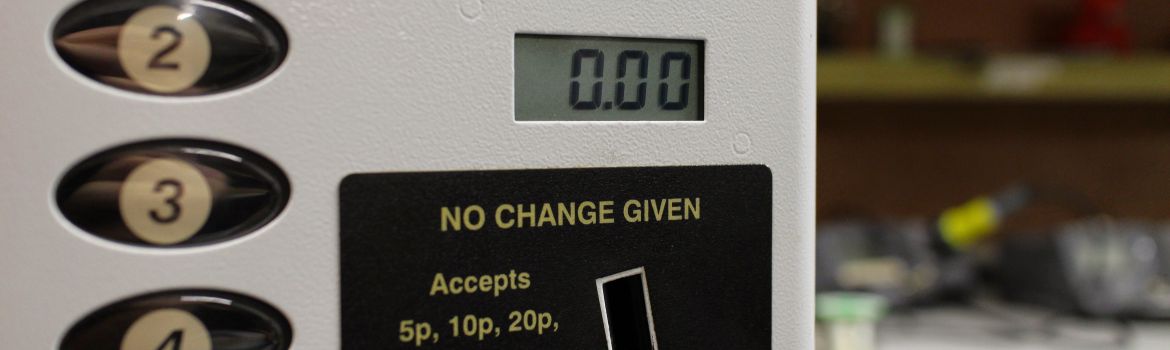
Display
The display on the machine was a low power lcd screen, designed to keep the current draw to a minimum. We don't have power concerns as ours is going to run from the mains so we decided to switch out the display for fancy oled screen, we ended up using a cheap but nice blue oled screen controlled over an i2c data line. This type of screen will allow us to build in a decent admin menu for controlling the system, much easier to use than the cryptic system it came with.

Replacing the brain
Once we had everything worked out it was time to replace the heart of the system, we used an Arduino Mega as it was what we had available and it has the memory to handle some of the features we plan to build into it.
The program we have written is quite basic but it emulates the main functionality of the original system, users can enter money and choose items to vend. Money entered into the system gets tallied up and then as soon as a button is pressed it verifies the balance is enough and then vends the selected item, deducting from the stored balance. At the moment everything is 50p but this will be replaced with a local database storing the items and values.
Eventually the system will be expanded to accommodate an RFID reader so members can pay for items using their balance as well as an internet connection for live feedback but for now this is up and running so we can get real world feedback about each of the parts of the machine.